Combining miniature and landscape is a multi-step process which starts with the landscape, not the miniature. This guide uses an SLR and Photoshop and is my way of approaching the combination of miniature and landscape. For sure there’s other and more efficient ways.
Some of my landscape photos are actually smartphone pics. That’s because the best fitting camera for a pic is the one you have at hand – and that’s more likely with my smartphone camera. If that’s the case for you as well, all the given steps still apply. If you are taking pictures of your miniature with a smartphone as well, you might have less control over the camera settings.
How to Combine Miniature and Landscape
Choose Background Pic
Before you take the photo of your miniature, be sure which landscape photo you want to have a background. If you have none yet, go out and make one. Make sure to choose your eye-level and a horizontal view. Make sure that you can see the foreground in the picture. It also helps if the foreground is flat for a certain distance (like a street, field or place).
Analyze the Background Pic
Once you’ve chosen your landscape (or cityscape) photo, start to analyze it. The following parameters are of interest.
- Where is the sun coming from? What’s the angle, is it behind, in front of you or on your side?
- How bright is the sun shining? Are the shadows sharp or blurry? Is it cloudy or blue sky? Is it rainy or foggy?

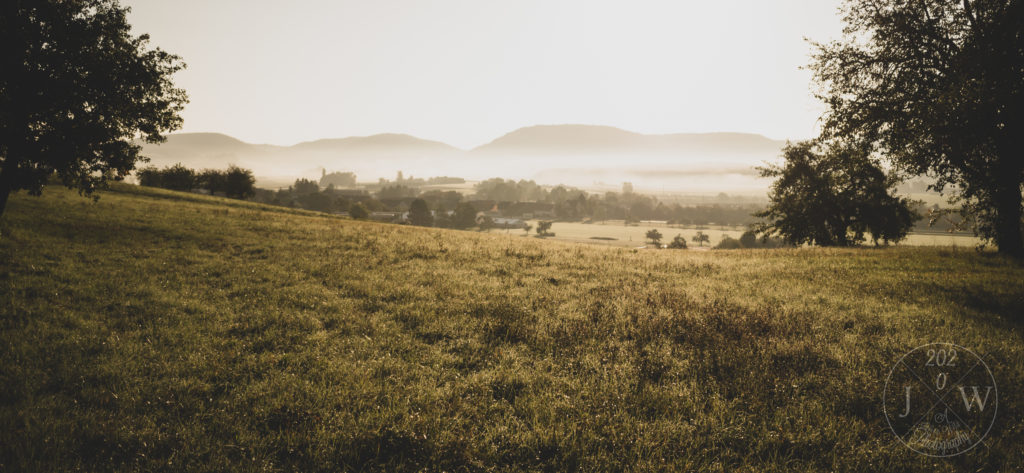
In this landscape the sun is shining very bright and directly from the front.
Setting the Stage for your Miniature
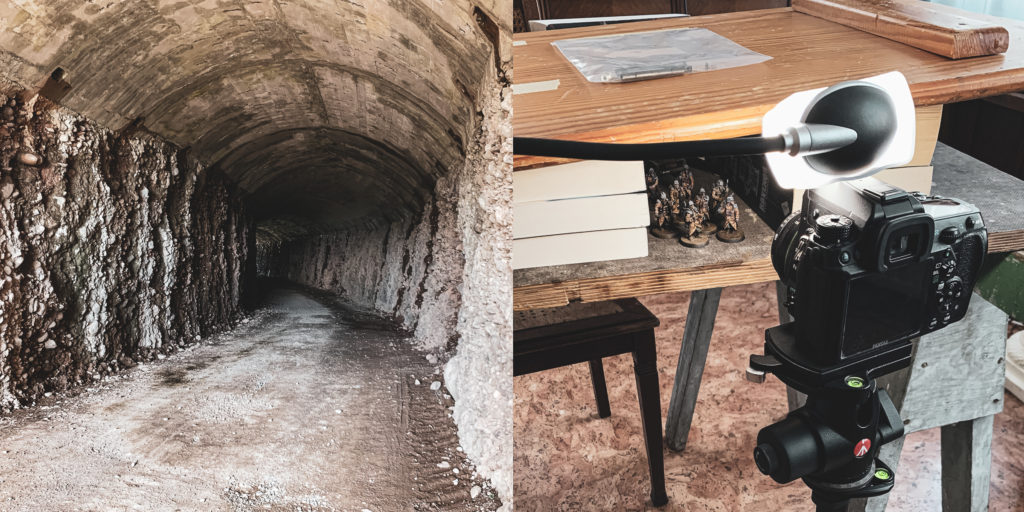
Place your miniature on a table (or any flat surface). You might want to choose its color as well, but that’s secondary. If there’s any buildings or walls or ceilings in the background pic, re-build them with any CDs, DVDs (oh, good old times), books, boxes, what have you. This helps you to have similar shadows on your miniature naturally. That means less editing with the brush later.
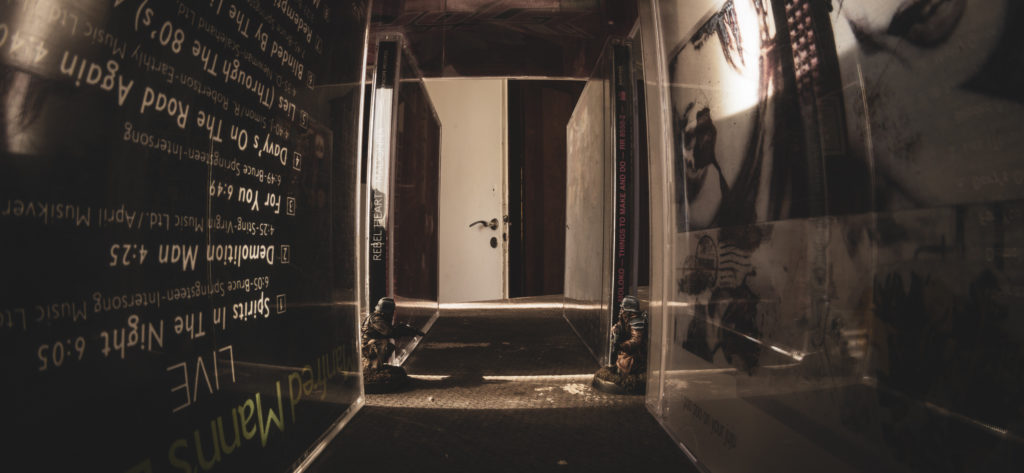
For the picture where two Death Korps of Krieg Infantery men kneel opposite of each other in a long corridor, I re-build the corridor and the door openings with several CDs. This way I had both the correct lighting and knew how to apply shadows on the floor if necessary.

Setting the Light
Now it’s time to bring light to your miniature. You need to simulate the same light as in the background pic. According to angle and brightness. For cloudy skies or fog be sure to have an optical diffuser at hand. Make also use of a permanent light source, rather than flash light. If you want to use flash light, be sure you know what you do.

Setting your Camera
- Stabilize your camera and bring it to eye-level with your miniature.
- Choose a small aperture (i.e. a high f-value). This helps you to have as much of the miniature as possible in focus. In your landscape photo you might have a different aperture. But that’s ok because the field of depth in the far distance is less critical.
- If possible, choose the same ISO value in both pictures. This way the grain level and distortion is the same.
- Choose a shutter time fitting the aperture and ISO values (in case you shoot on M). No worries if the shutter is open longer than 1/60s, because your stabilization is already perfect.
- I also save photos in the RAW format rather than jpg.
Editing your Photos in Photoshop – Combining Miniature and Landscape
Now let’s start combining the miniature and the landscape pics. Normally I do post-processing in Lightroom before I start editing in Photoshop – but I leave that for now (or a future post).
- In Photoshop place both pictures in one image as separate layers (the mini pic on top).
- Create a mask layer on the miniature. Mask everything but the miniature. How-tos you’ll find on youtube and Adobe’s support page.
- Place the miniature within the background. Scale it down if necessary. Don’t scale it up due to loss of quality.
That’s it in a quick wrap-up for combining miniature and landscape in one pic. Of course you can have many steps in-between above steps. For example post-processing with Lightroom. More post-processing in Photoshop.
How to continue?
Multiple miniatures – advanced
When you want to place multiple miniatures in the photo be aware of your lens’ field of depth. If you have unfocused areas in a miniature think of taking multiple pictures. In each picture choose a different miniature to set the focus to. Let me know if you want to learn more about it.
Create a Perspective Grid – advanced
Photoshop makes it easy to create a perspective grid and figure out where in your landscape the horizon is. But it needs some free transformation of the landscape before that works. If you want to know more about that, please let me know as well.


