Category: Photography

  • What is Vignette28?

    What is Vignette28?

    What is Vignette28 you might ask. Vignette is a term which appears in multiple disciplines (check Wikipedia to see in how many). Our definition is mostly inspired by the meaning for literature. And we postfixed the term with 28 as a substitute for all scale models and miniatures. Here’s how Just Makes Stuff defined it:

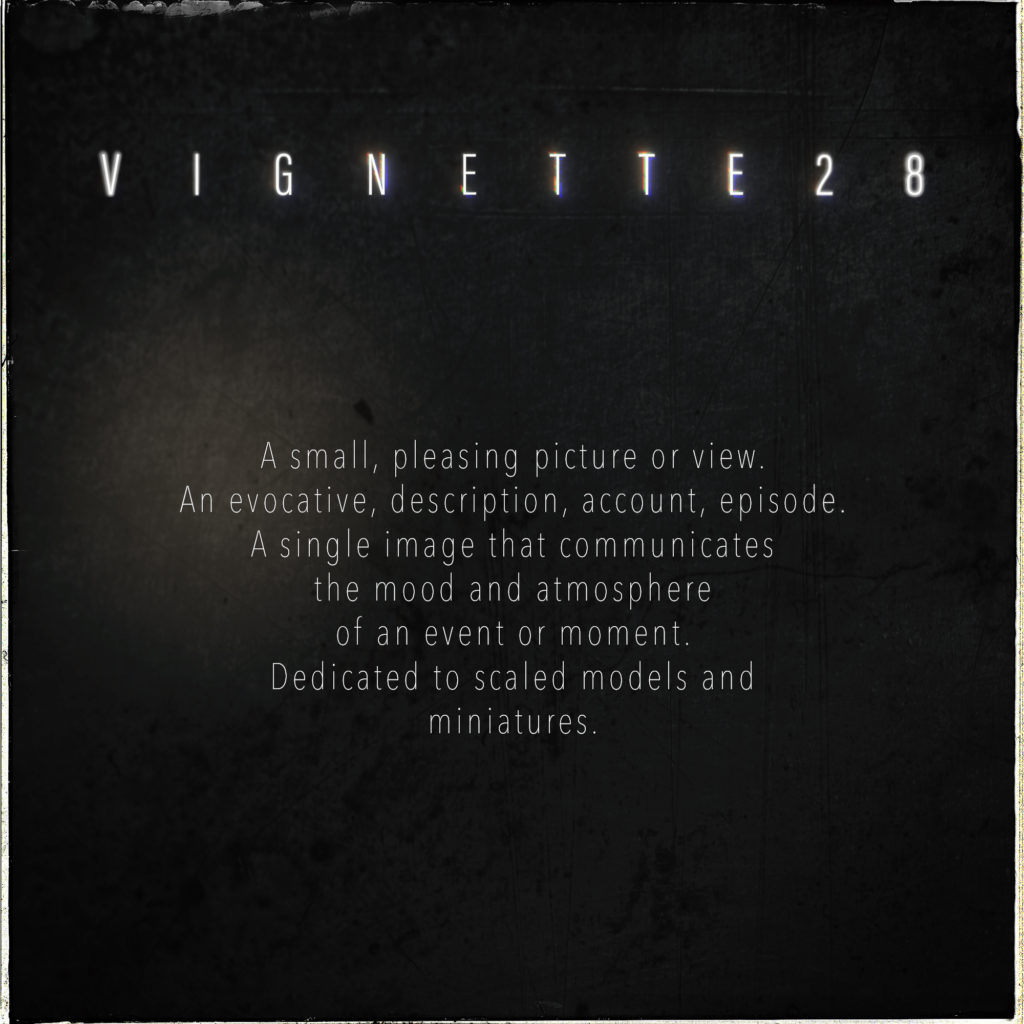
    A small, pleasing picture or view.

    An evocative, description, account, episode.
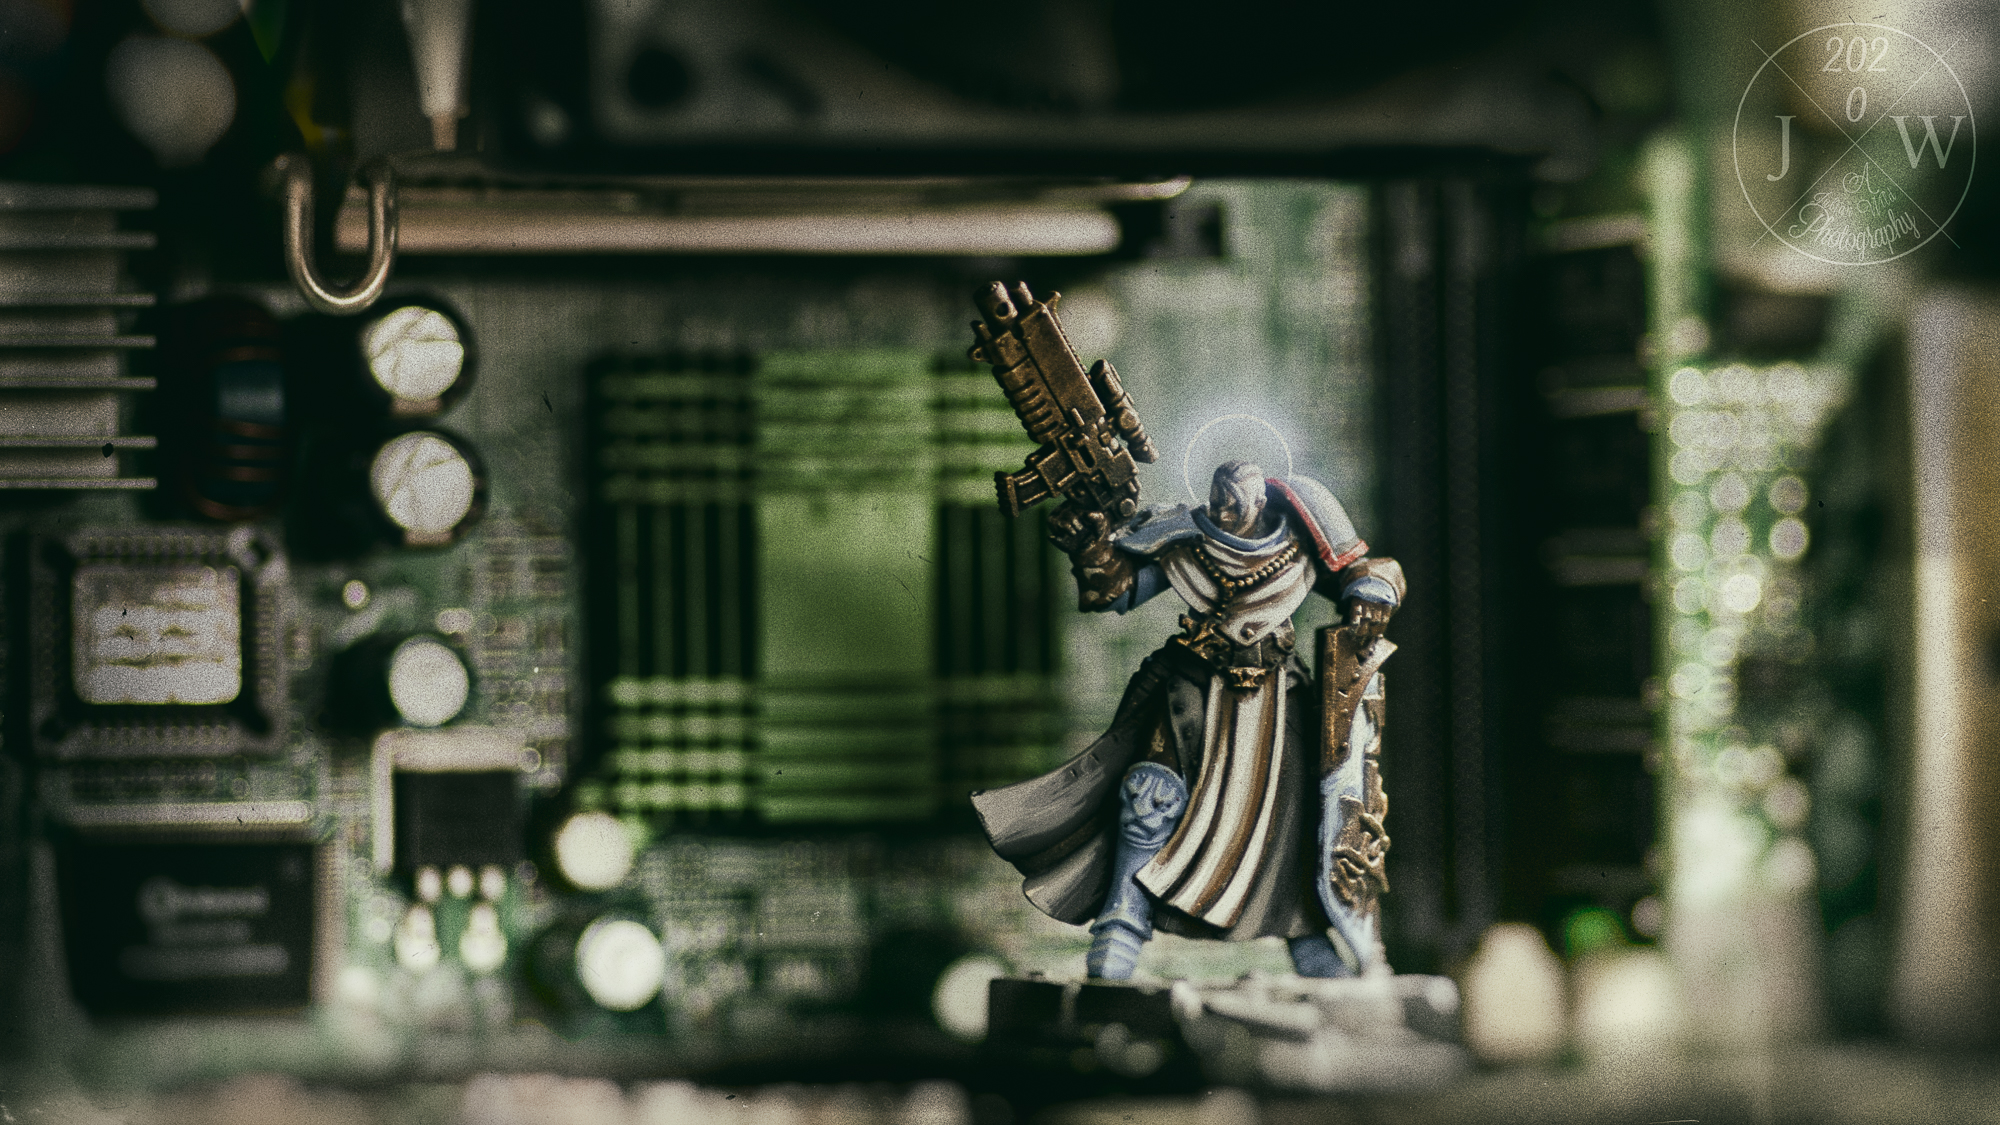
    A single image that communicates the mood and atmosphere of an event or moment.

    Just Makes Stuff

    On IG we tag our posts with #vignette28

    The Story is already there

    Why did you join our hobby in the first place? Isn’t it the lore, the stories, the imagination, the distraction, the creativity? We are convinced that most of you have a story in mind when watching your work. A background for the unit, a context for the building, a setting for the kitbash.
    And you have the means to tell it. You just have to make yourself aware of the story.

    How to Find the Story

    • What is the first setting you think of when eyeballing your work? Is there a film, a book, music, mood coming to your mind? Maybe a post in Instagram or Facebook?
    • For what reason did you choose the colours and the style? Do you follow a lore which attracts you? Or a game setting filling your mind with ideas?
    • Is there a particular detail which triggers your imagination and creativity especially? This can be something quite obvious (that’s why we often don’t see it immediately). It also can be something seemingly profane (which is also just a perception).

    Here’s a small questionnaire which might help you

    The questions start high level and then will steadily narrow down the focus. For some it might be helpful to write down the answers. I myself often use mind maps. It helps me to be creatively focused.

    • In which universe or world is your work set?
    • In which part of that world?
    • What characteristics does this part of the world have in particular?
    • What season, what time of day do you see?
    • Placing your work in that part of the world, is there already a mood and/ or any colours popping up?

    Of course this questionnaire is only scratching the surface and there could be hundreds of more questions. The intent however is to make you consciously think about the story you can tell. To name what is already there.

    by Pixxel_Worx on Pixabay

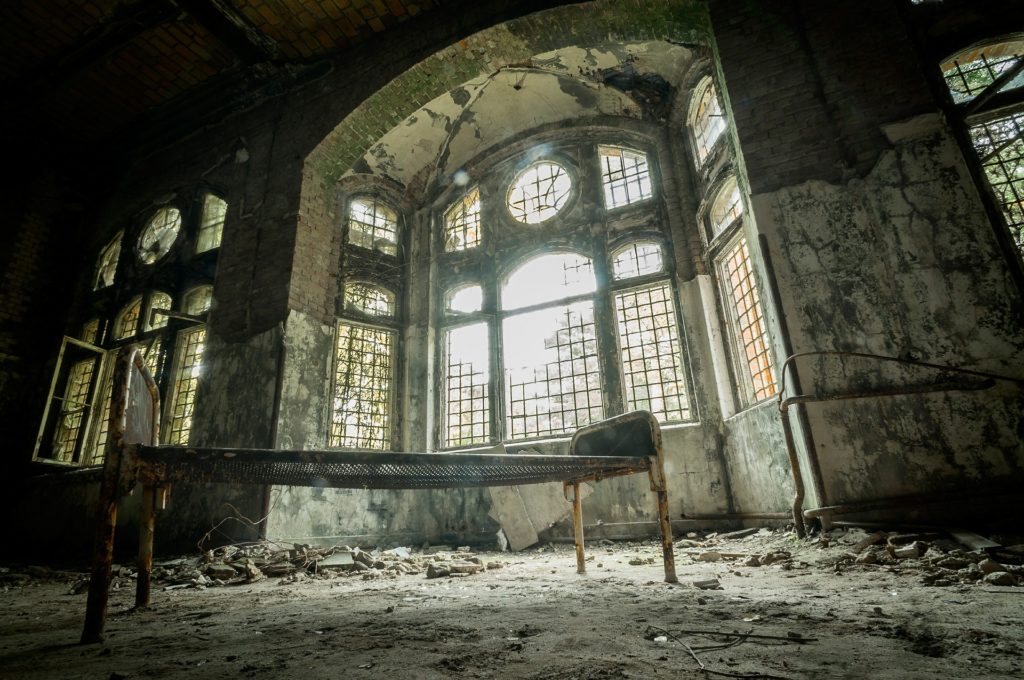
    Setting Up the Stage for Vignette28

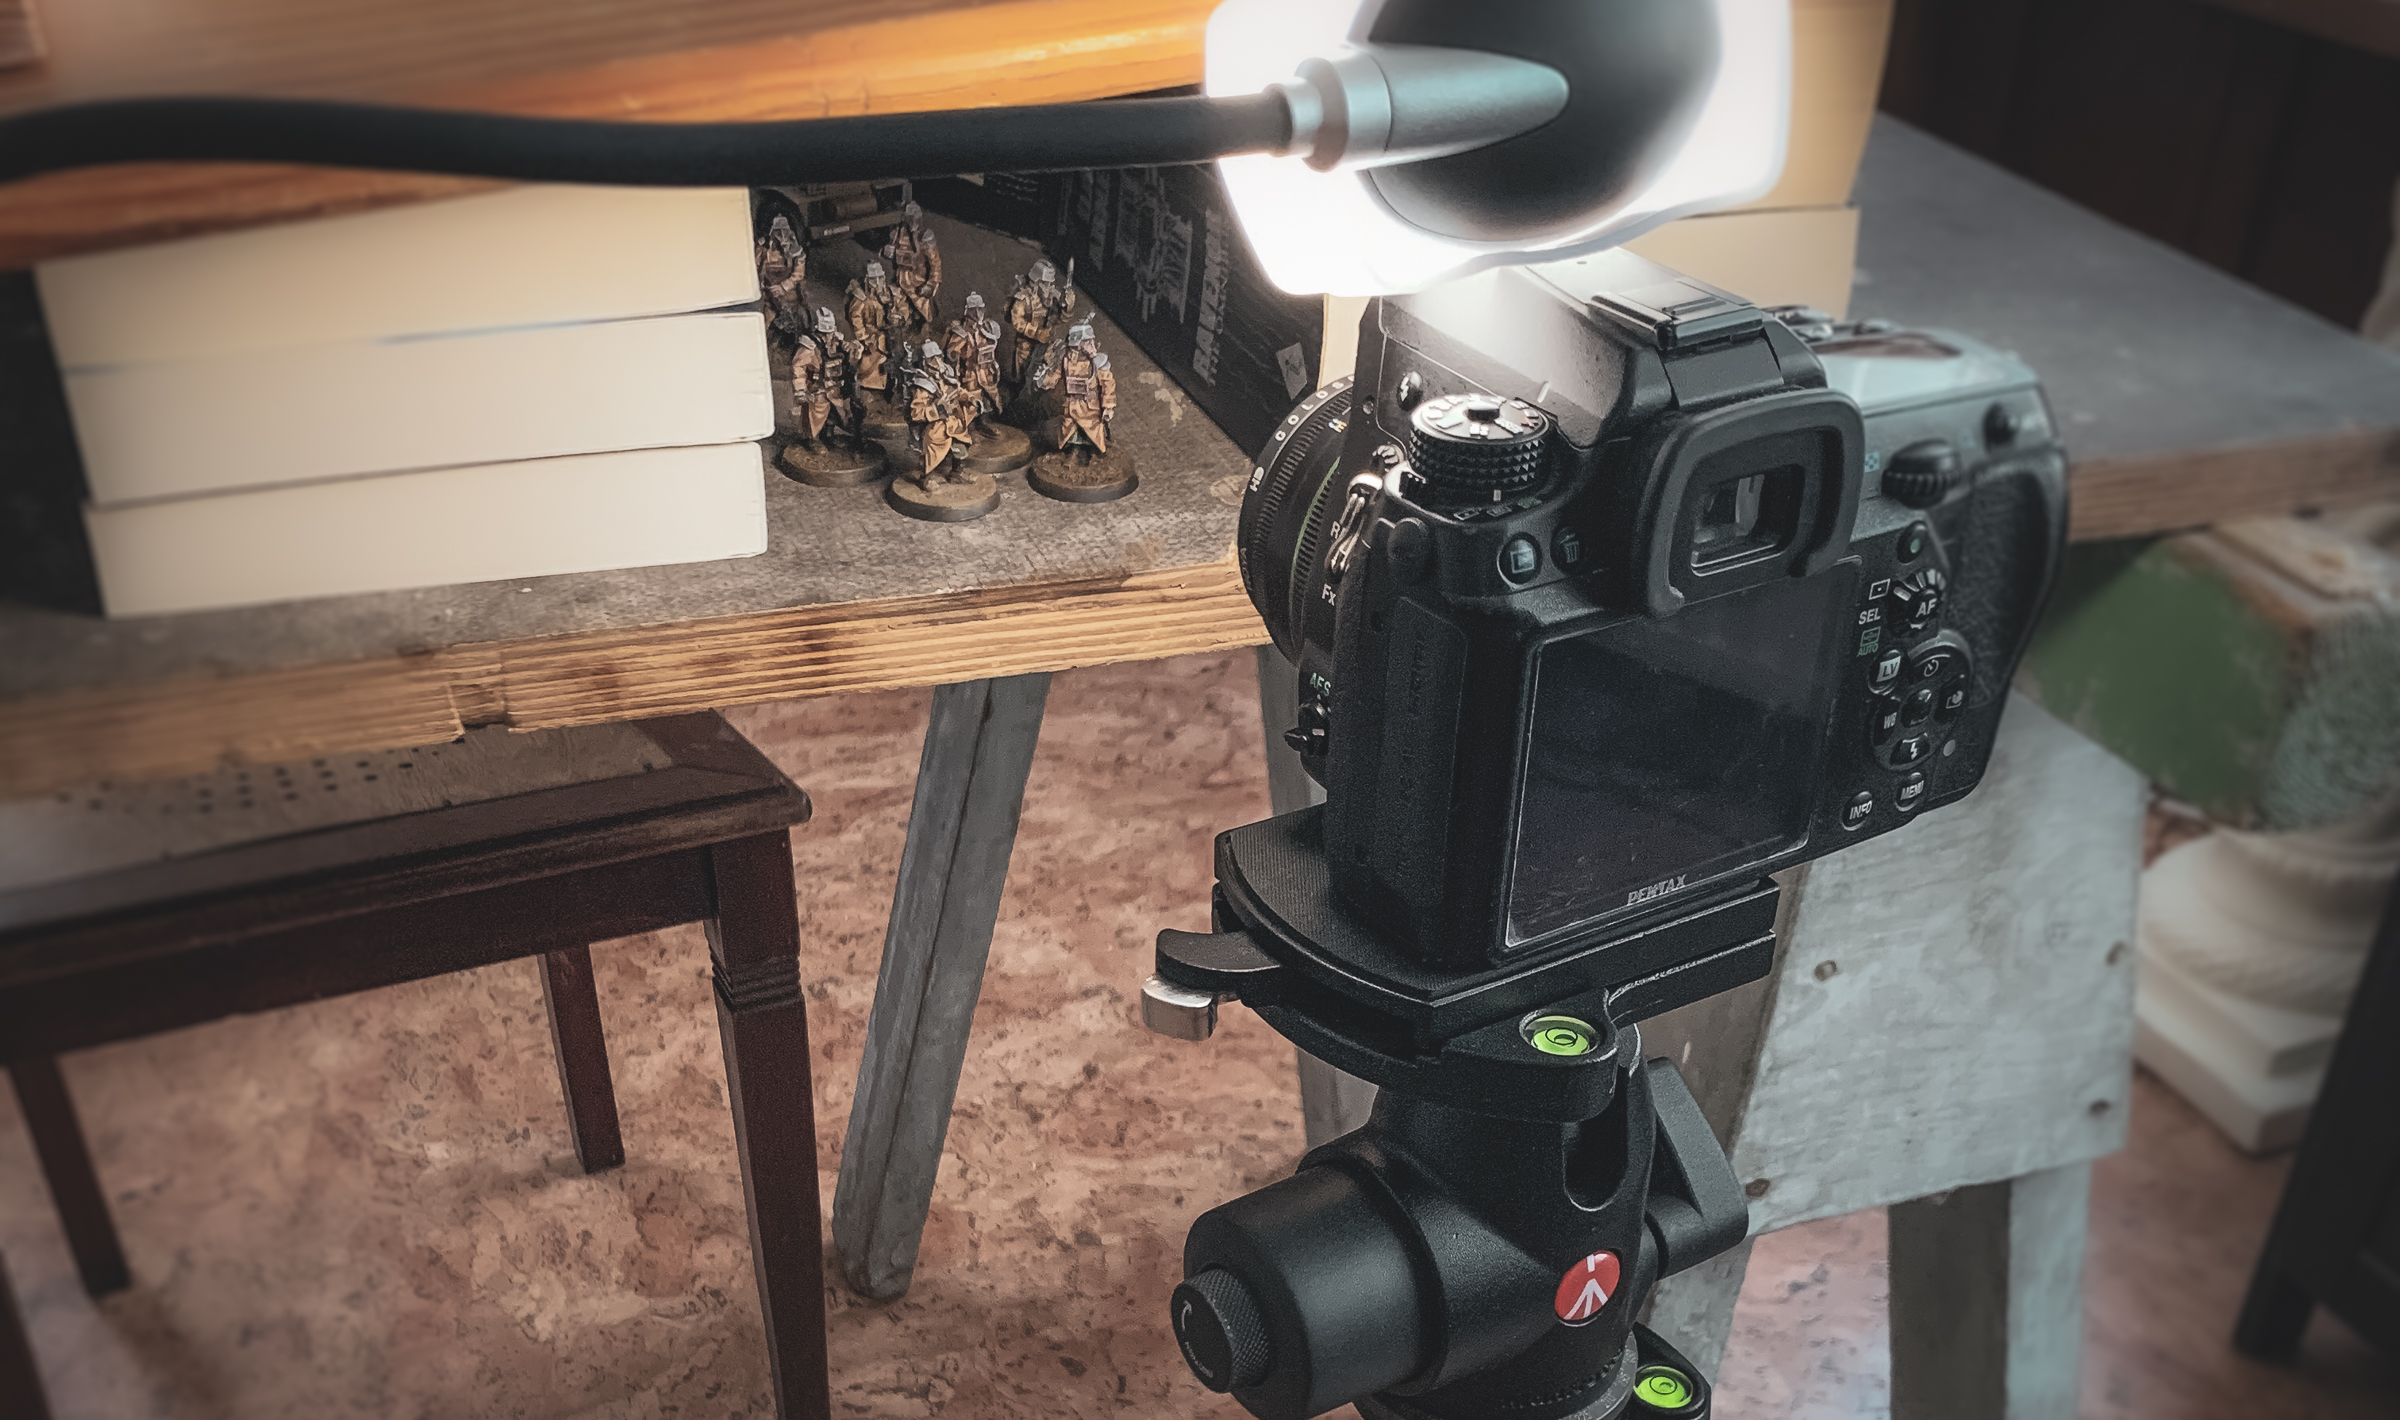
    You don’t need professional photo equipment in order to create a story telling picture with your miniature. Today a smartphone and one or two apps is almost everything you need – besides the work you have created anyhow. Within this blog I explain my approach while on Instagram there’s awesome content creators who share insights in how they achieve Vignette28.

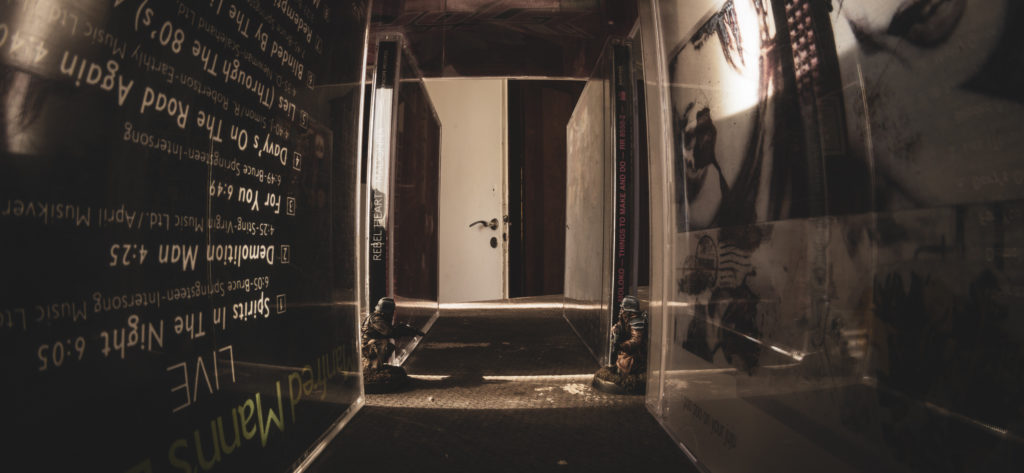
    You can work with your own printed, standard paper sized backdrops. You can work with unfolded pizza boxes. I recently painted a cardboard box black on the inside. Paint your own backdrop. Work with real sand as the ground your miniature is standing on or create a small terrain piece. You can use snow or small rocks. Soil, dried grass or lichen. Create a small, temporary landscape, again the size of a standard paper.

    On the right you can see that I worked with books and a board.

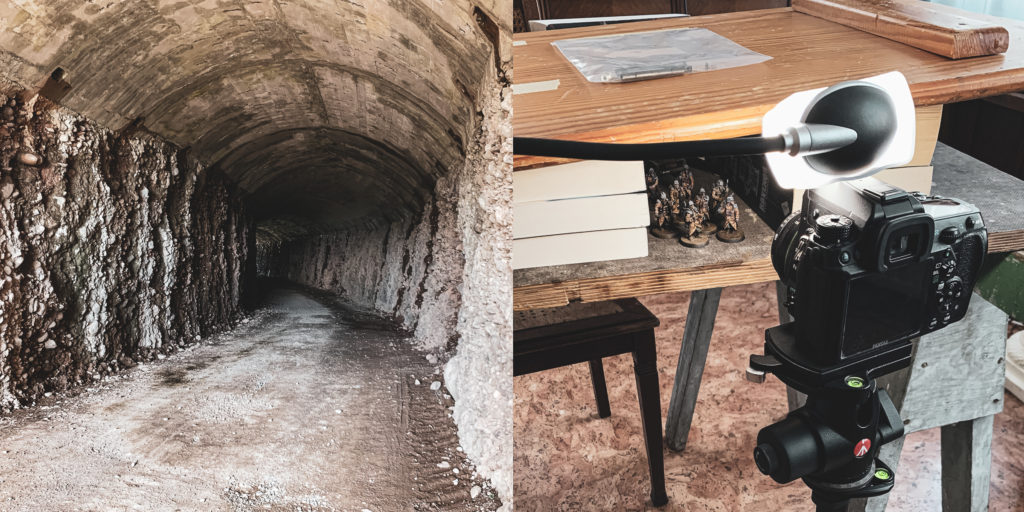
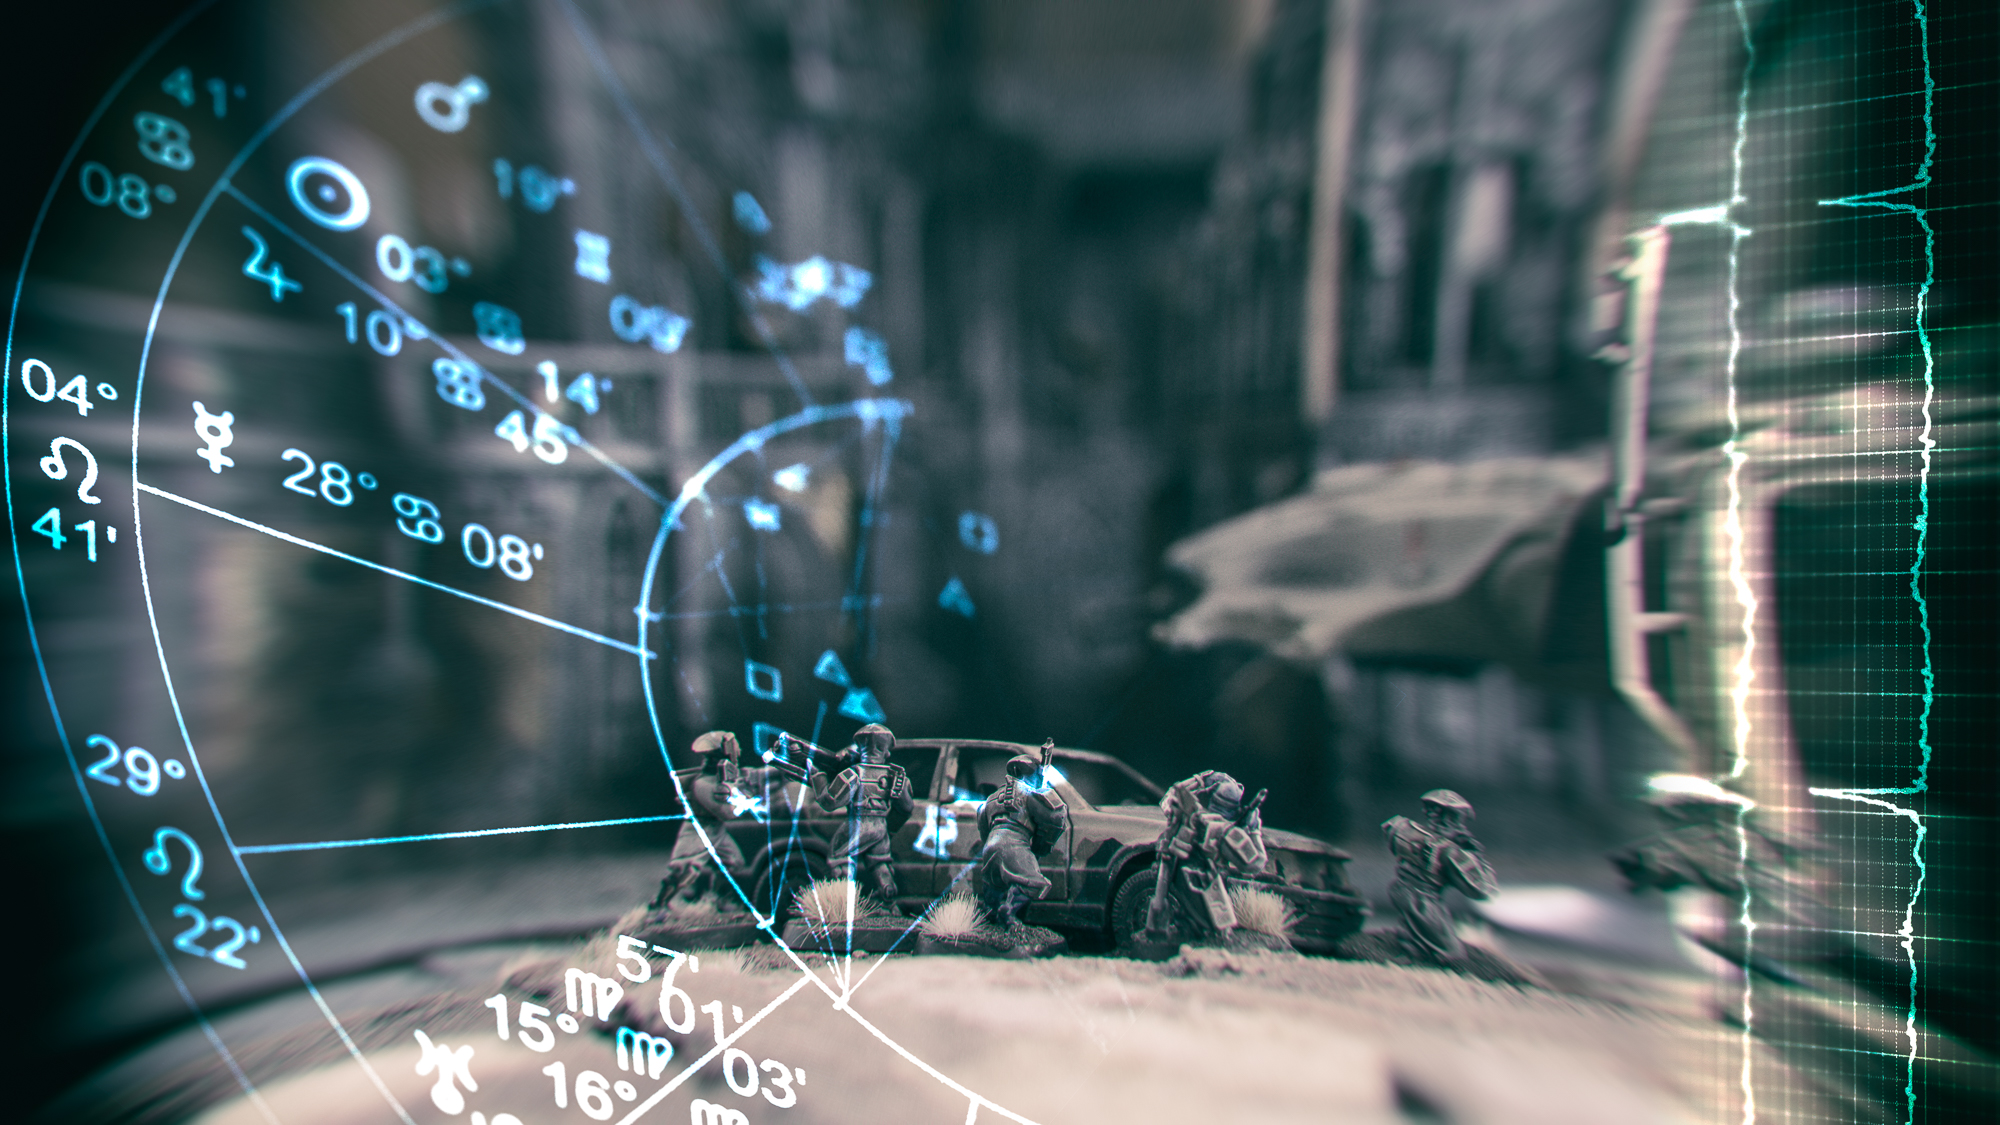
    Some apps even make it possible to include moving clouds, fog or fires in your photo. Of course you also can go outside and put your miniature on the street and make use of the real landscape as backdrop.

    When I was hiking in the Alps I had this guy with me. Everything is real, the Eiger in the background, the rock the Intercessor is standing on.

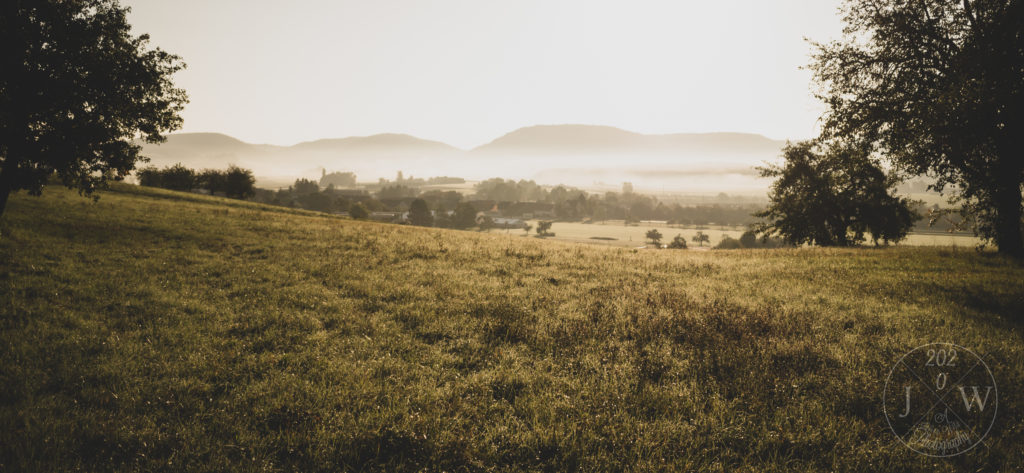
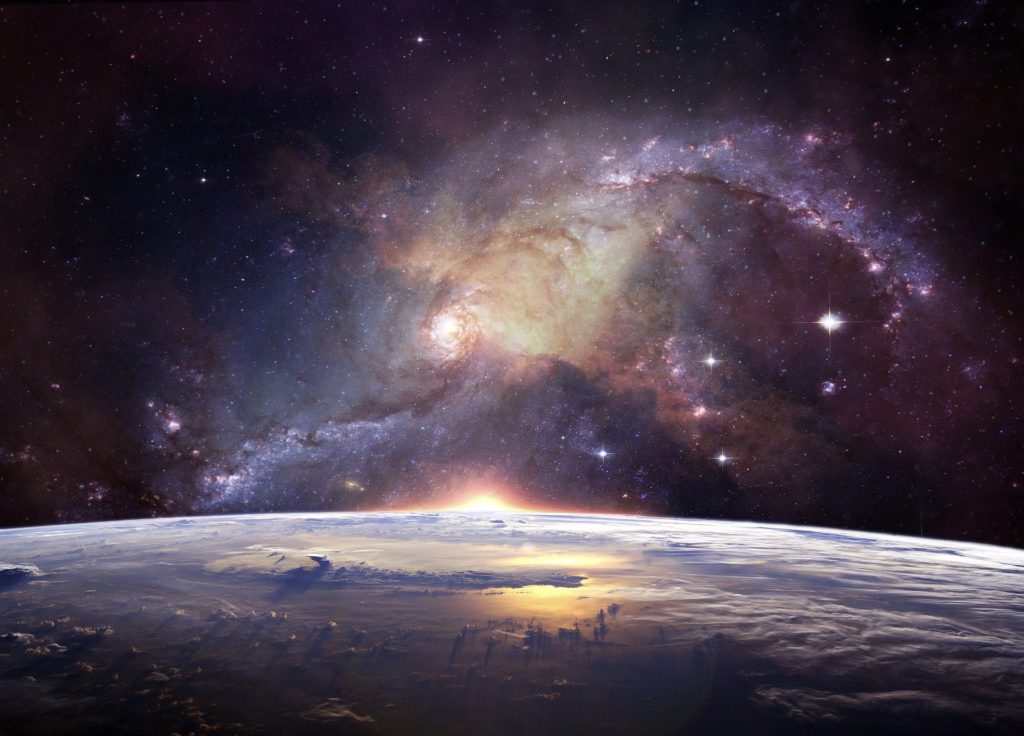
    You can download landscapes from stock photo services (like Pixabay). I’m sure eventually I’ll make a Vignette28 with this photo.
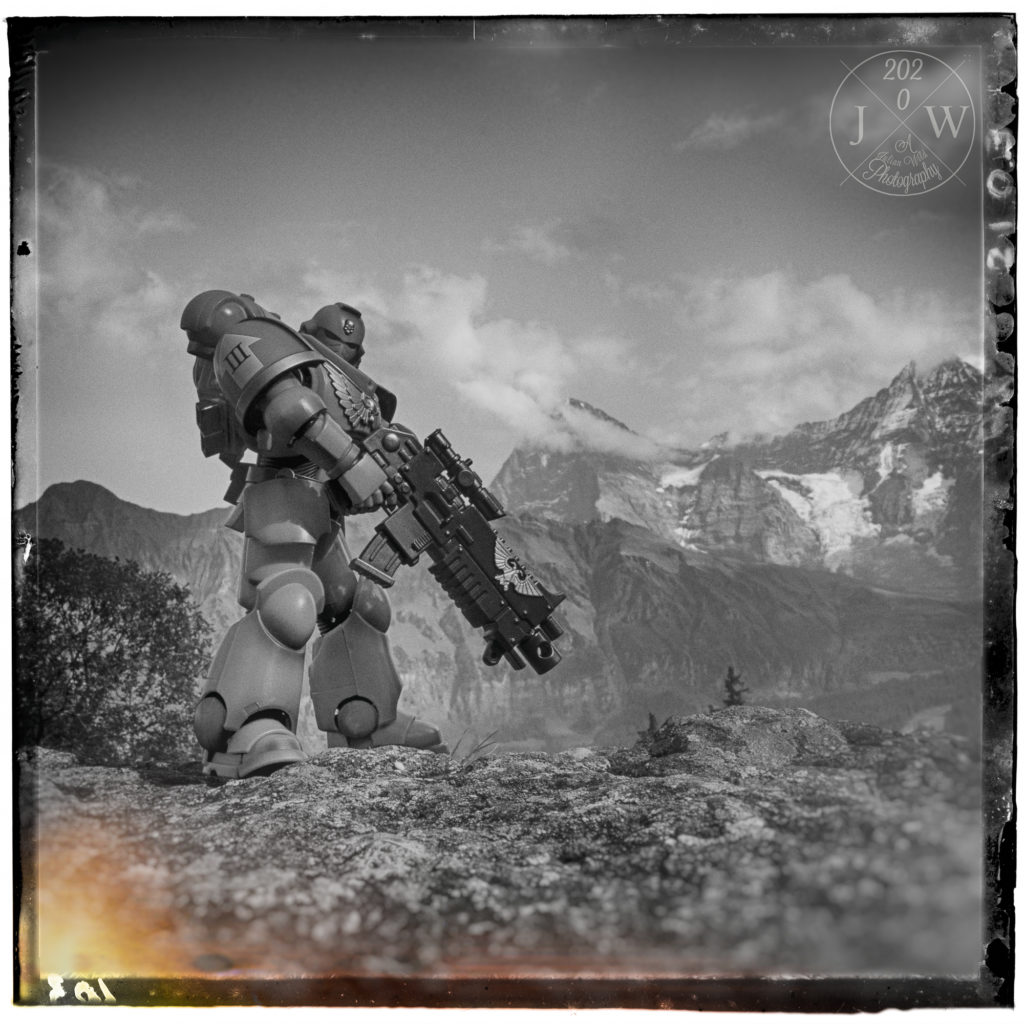
    by lumina_obscura on Pixabay

    Style and Mindset?

    There’s some technical details which make it easier to achieve a story telling aspect (like going down on eye-level with a miniature). But they are not the only or even necessary means to work with. Don’t restrict your creativity because others tell you how they achieve theirs. Everybody has their own way.

    The NOT List

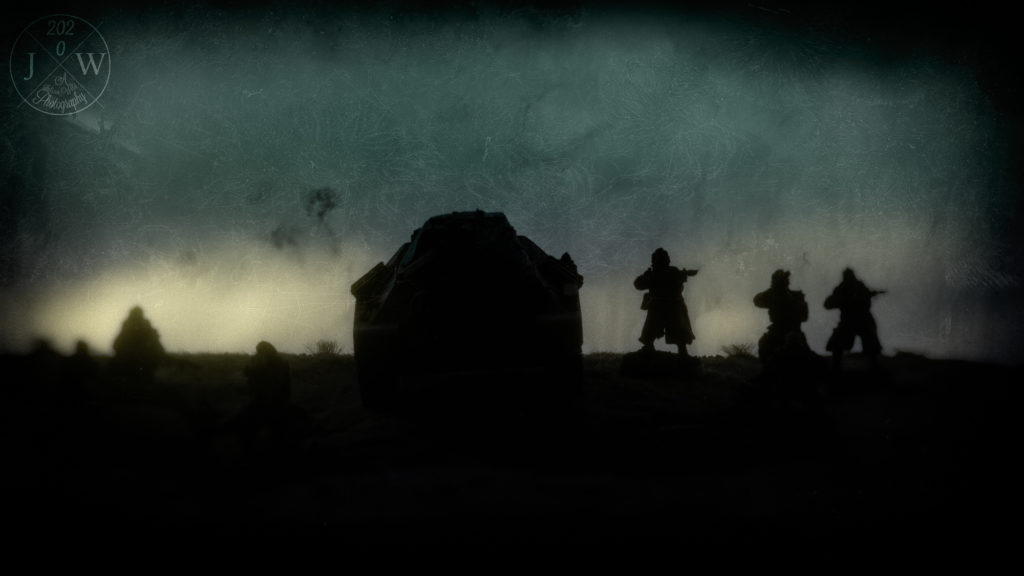
    The NOT list is my personal view, it’s my subjective opinion. I myself wasn’t able to combine showcasing and story telling within the same photo. Of course I can put my own style in my showcasing photos. But the intense visual stories I was telling so far were those where I restrained myself from the showcasing aspect.

    To Sum Up

    You know what Vignette28 is. Bring the story to your conscious self. It is already there. You just have to find a way to make yourself aware of it. Maybe the questionnaire helps. And then create the setting of the scene. Make use of stock photos, of software. You don’t need to show how well you painted and it is ok to edit the photo. It’s all about the story. You can create Vignette28!

  • Combining Miniature and Landscape

    Combining Miniature and Landscape

    Combining miniature and landscape is a multi-step process which starts with the landscape, not the miniature. This guide uses an SLR and Photoshop and is my way of approaching the combination of miniature and landscape. For sure there’s other and more efficient ways.

    Some of my landscape photos are actually smartphone pics. That’s because the best fitting camera for a pic is the one you have at hand – and that’s more likely with my smartphone camera. If that’s the case for you as well, all the given steps still apply. If you are taking pictures of your miniature with a smartphone as well, you might have less control over the camera settings.

    How to Combine Miniature and Landscape

    Quick Guide

      Choose Background Pic

      Before you take the photo of your miniature, be sure which landscape photo you want to have a background. If you have none yet, go out and make one. Make sure to choose your eye-level and a horizontal view. Make sure that you can see the foreground in the picture. It also helps if the foreground is flat for a certain distance (like a street, field or place).

      Analyze the Background Pic

      Once you’ve chosen your landscape (or cityscape) photo, start to analyze it. The following parameters are of interest.

      • Where is the sun coming from? What’s the angle, is it behind, in front of you or on your side?
      • How bright is the sun shining? Are the shadows sharp or blurry? Is it cloudy or blue sky? Is it rainy or foggy?
      Choose your landscape pic first.
      Choose your background pic first and analyze it second.

      In this landscape the sun is shining very bright and directly from the front.

      Setting the Stage for your Miniature

      Place your miniature on a table (or any flat surface). You might want to choose its color as well, but that’s secondary. If there’s any buildings or walls or ceilings in the background pic, re-build them with any CDs, DVDs (oh, good old times), books, boxes, what have you. This helps you to have similar shadows on your miniature naturally. That means less editing with the brush later.

      For the picture where two Death Korps of Krieg Infantery men kneel opposite of each other in a long corridor, I re-build the corridor and the door openings with several CDs. This way I had both the correct lighting and knew how to apply shadows on the floor if necessary.

      Re-build walls, buildings or ceilings.
      These two kneel in two door openings facing down a long corridor of CDs.

      Setting the Light

      Now it’s time to bring light to your miniature. You need to simulate the same light as in the background pic. According to angle and brightness. For cloudy skies or fog be sure to have an optical diffuser at hand. Make also use of a permanent light source, rather than flash light. If you want to use flash light, be sure you know what you do.

      Background pic and miniature and lighting setup.
      Background pic (left) and miniature and lighting setup (right).

      Setting your Camera

      • Stabilize your camera and bring it to eye-level with your miniature.
      • Choose a small aperture (i.e. a high f-value). This helps you to have as much of the miniature as possible in focus. In your landscape photo you might have a different aperture. But that’s ok because the field of depth in the far distance is less critical.
      • If possible, choose the same ISO value in both pictures. This way the grain level and distortion is the same.
      • Choose a shutter time fitting the aperture and ISO values (in case you shoot on M). No worries if the shutter is open longer than 1/60s, because your stabilization is already perfect.
      • I also save photos in the RAW format rather than jpg.

      Editing your Photos in Photoshop – Combining Miniature and Landscape

      Now let’s start combining the miniature and the landscape pics. Normally I do post-processing in Lightroom before I start editing in Photoshop – but I leave that for now (or a future post).

      • In Photoshop place both pictures in one image as separate layers (the mini pic on top).
      • Create a mask layer on the miniature. Mask everything but the miniature. How-tos you’ll find on youtube and Adobe’s support page.
      • Place the miniature within the background. Scale it down if necessary. Don’t scale it up due to loss of quality.

      That’s it in a quick wrap-up for combining miniature and landscape in one pic. Of course you can have many steps in-between above steps. For example post-processing with Lightroom. More post-processing in Photoshop.

      How to continue?

      Multiple miniatures – advanced

      When you want to place multiple miniatures in the photo be aware of your lens’ field of depth. If you have unfocused areas in a miniature think of taking multiple pictures. In each picture choose a different miniature to set the focus to. Let me know if you want to learn more about it.

      Create a Perspective Grid – advanced

      Photoshop makes it easy to create a perspective grid and figure out where in your landscape the horizon is. But it needs some free transformation of the landscape before that works. If you want to know more about that, please let me know as well.

    1. Tell a Story – The Point of View

      Tell a Story – The Point of View

      In order to tell a story with a miniature in a picture there’s some minor but game-changing details to keep in mind. That is, to tell a story go on eye-level with your miniature. If you just want to showcase your miniature the Games Workshop Photography Guide is perfect. It has also some good explanations of the field of depth which are a good-to-know.

      The Story Telling Point of View

      A story does not focus on how well you painted your model. The story expects the paint job to be decent enough. And the story seems smoother if the model fits into the setting. If it blends in. In showcasing you choose a background and lighting to highlight your paint job. In a story the picture itself is the work, the output, which then results in an outcome for the audience. And the outcome is what you are interested in as a story teller. It’s what your audience takes away.

      The Relationship between Viewer and Miniature

      Start with creating a relationship between viewer and miniature(s). For that go on eye-level with the miniature. Place the camera horizontally and adjust the height of the tripod (or any stabilizing tool) so that the middle of the lens is on eye-level. The effect you achieve is that the surroundings of the miniature in the picture is seen by the viewer like the miniature would see it.

      The Relationship between Viewer and Surroundings

      Why is the change of perspective so important? When taking pictures of your friends, you normally don’t change your stance. Normally you shoot from your eye-level. The same often applies when taking pictures of your tabletop battle. So by showing pictures of tabletop games from an elevated angle the viewers see a tabletop game. But what happens if you change the perspective and go down on eye-level of the battle’s opponents? The viewer is suddenly in the middle of the fight. And loses the overview over the battlefield.

      Death Korps of Krieg approach a hill at dusk.
      Going on eye level with the miniatures.

      The Relationship between Miniatures

      Now go one step further. If you have multiple models in the picture, especially with different heights (e.g. a human sized model and a Space Marine or tank) go on eye-level with the model the viewer will best relate to. Set the eye-level to the human sized model. This way – especially for bigger models – they are shown as they really would.

      Death Korps of Krieg Infantery Man with Space Marine
      Choose with which miniature to go on eye level.

      Summary

      Tell a story by going on eye-level with miniature. Bring your camera on eye-level with a human-sized miniature. The change of perspective let’s you bring the real point of view into the world of miniatures.

    2. The Stable Shot

      The Stable Shot

      Prevent blurry effects in your pictures. Even if you intend to introduce blur or distortion effects or grain in your picture, the start is a high quality photography. Basic tipps for a stable camera setup for miniatures photography.

      Shake Your Hands

      There’s two types of things which can disturb your shot. First is your naturally shaking hands during long exposure. No one can hold a camera perfectly still for two or more seconds (maybe the perfectly trained sniper can). Of course there’s cameras with shake reduction. And they will help you a lot to a certain degree.

      But you can stabilize your camera during exposure with the help of anything solid. For example a book on a table. In case of your smartphone place a second book behind it to keep it upright.

      Simple Shake Reduction: a book on a table
      The simplest form of a stable setup: the camera on a book on a table.

      The best stabilization is a tripod. There’s all sorts of tripods and for each type of camera there do exist tripods in all quality (and price) levels. Classic cameras (that is those only for taking pictures) normally are tripod-ready. Check on the bottom of your camera, there should be a screw hole which is of standard size. For smartphone there’s adapters as well.

      Ideally your tripod has one or more spirit levels ideally with a bull’s eye. A ball camera mount is also helpful.

      Camera on tripod with camera mount
      High-end tripod with camera mount.

      Shake Your Camera

      Even with the camera fixed to a tripod it can happen that by pressing the shutter of your camera you shake the camera. Automatic release or remote control are minimizing this effect. For SLRs some photographers even lift the mirror up front to prevent any shaking triggered by this camera-internal action.

      You don’t need to set the automatic release to 10s. Two seconds is absolutely enough. Remote controls are available wired and wireless. The advantage of the wired is that you don’t need extra batteries. The advantage of the wireless is that you can stand away from the camera several meters. This prevents the tripod from shaking while you walk around during exposure.

      remote controls for cameras
      Remote Controls, with and without wire.

      Summary

      A stable camera setup for miniatures photography is essential for high quality photos. You can achieve that with both a tripod and a remote control.

    3. about HTO

      about HTO

      HighTechOger shares an uncommon perspective in miniature photography.

      Miniature Photography – an Uncommon Perspective

      There’s so many miniature painters out there. It’s mind blowing what they can do. And there’s so many terrain crafters out there. It’s mind blowing what they can do, too. And there’s thousands of photos out there of miniatures and terrain. Well, it’s more likely millions. The internet is a gallery of showcasing an awesome body work from an awesome community. You’ll find all stages of progress and all levels of quality. It’s amazing what people do.

      This website is not about showcasing (there’s nothing wrong with showcasing, though). Here it’s all about storytelling with miniatures in photographs. About cinematic scenes including miniatures.

      Storytelling with Miniatures in Photographs

      • If you want to learn about how you can tell stories with miniatures in photography – you are at the right place. Check out my posts about photography.
      • If you want to be inspired by stories with miniatures in photography – you are at the right place. Check out my posts in general and my high resolution galleries.
      • If you want to see my approach in an entertaining way – check out my YouTube Channel.
      • If you need support in miniature photography – feel free to contact me.

      Vignette28

      In short it’s about creating what we call a Vignette28. Check out my post about What is Vignette28? – my personal approach.